DIY Solar Power Installation

Solar installation has become easier over the years. With the steady advancement of solar technology, installing solar panels and photovoltaic system equipment will surely get even more simplified in the future.
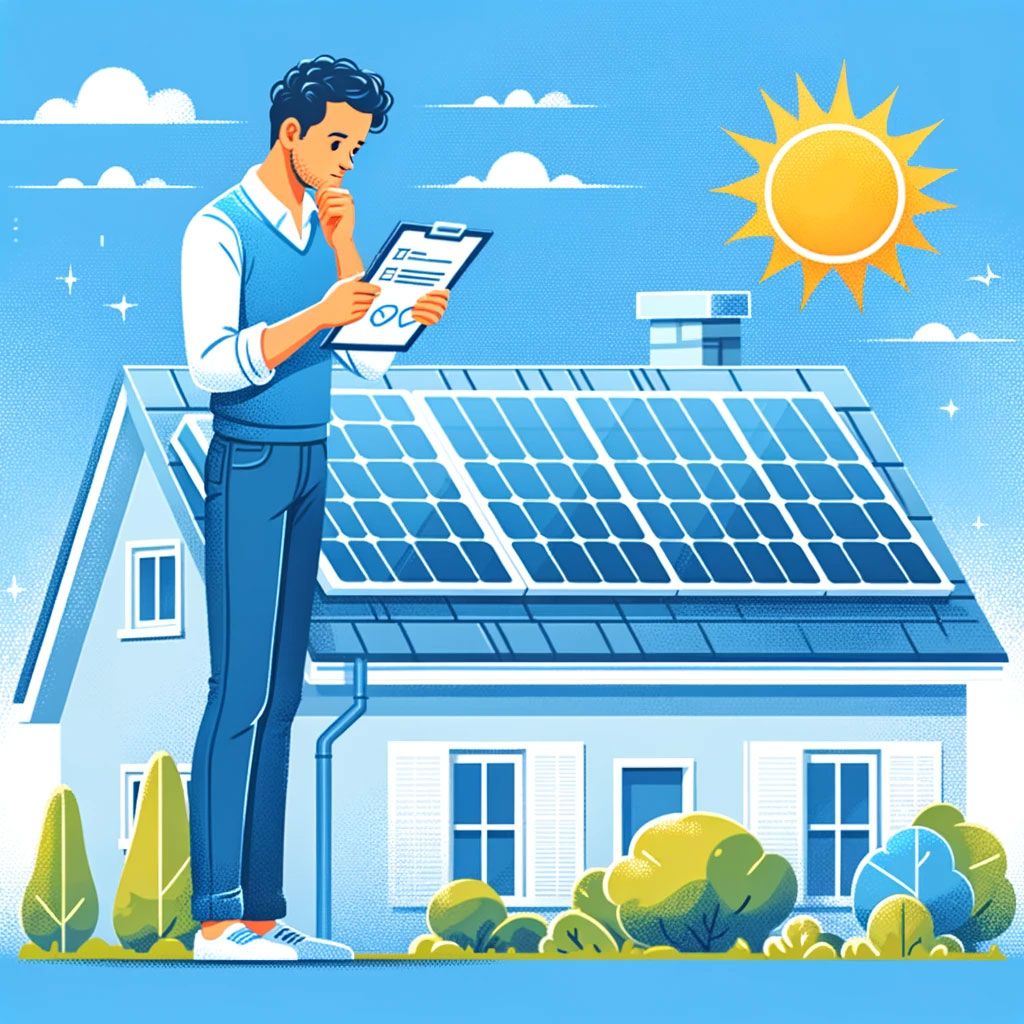
However, that does not mean that solar installation is an easy 5 step process or that everybody should try it.
Solar Installation: What You Should Know Before You Start
Because of how solar works, with multiple panels and equipment producing several hundred volts of electricity in the sunlight, some very important solar energy safety tips must be followed before you consider installing solar panels or PV system components onto your home.
Often, the work involved needs to be done by a professional solar installer, permits need to be applied for and specific electrical standards (which often differ from one area to the next) have to be met.
It is for this reason that there is also often a lot of improvisation involved when installing a solar power system.
Although we do not in any way encourage you to disobey the standards, rules, requirements, and guidelines set forth by your municipality in regards to how to install solar panels or a solar energy system, we do show you some ways of working around some of the harder aspects of solar installation at the end of this article. To be sure, check with your local building and safety department for specific requirements.
Let’s take a look at the basic procedure for installing a grid-tied solar power system in your house.
Installing Solar Panels & Solar Energy Systems
First you must make sure that your roof or wherever you’re going to be mounting your solar panels is strong enough for solar panel installation and to support the weight. There’s no point in installing solar panels on a roof that is going to cave in and ultimately cost you more money to repair.
Unless you’re using solar roof tiles, the next thing you must do in the process of solar panel installation is measure the dimensions of your roof and ensure that your solar panels (the entire solar array) can fit in the available space.
When installing solar panels, you may also want to consider using an area where there is considerable space for the addition of more panels in the future. For proper solar panel installation, ideally, solar panels should go on a rooftop that faces the direction that the sun comes up from.
So, if in your area the sun rises in the east, your panels should face east for maximum exposure. Just make sure the roof has no shade on it from other homes, buildings, trees, etc.
One important thing you must know about solar panel installation is that having just one solar panel in the shade can stop your whole solar array from working properly. Also, when you are installing solar panels, make sure that shade won’t come with the changing of the seasons or with the future development in your neighborhood. Install solar panels no closer than 12” from the edge of the roof and 16” from the eaves.
- Before you install solar panels, you must install brackets on sloped roofs or mount rails on flat roofs. Solar panel mounts can be bought in home improvement or solar stores. Standoffs for the brackets or rails must be secured to the home’s rafters or trusses, not just the sheathing.
Solar installation brackets are used on roofs that are sloped, but the slope must be positioned in a way that gives the panel good direct exposure to the sun. A mount rail system is used in solar installation to allow you to position the panel at any angle you want. You must keep all the solar panels at the same angle and height (even when the roof slope changes) to keep the voltage production the same.
Make sure you use roof sealant where you drill the screws into the roof when attaching the brackets or mount rails - so no rainwater can leak through the holes in your roof. Follow the instructions that come with the brackets or rail system you use to ensure that your solar panel installation is done according to manufacturer’s recommendations.
Then attach your solar panels by hoisting them up to your roof, laying them out onto the brackets or mount rail system, and fastening them onto the bracket or rail system. When installing solar panels make sure they don’t accidentally slide off of very sloped roofs before you get a chance to secure them.
When solar panel installation is complete and your panels are secure you must connect them according to how you want them to produce power. Make sure all your wires are properly insulated and waterproof (wrapped with black electrical tape). To prevent shock, always connect a ground wire from the mounting hardware to the earth when performing a solar installation.
Once the panels have been connected and aligned in place, the conduit must be run underneath the panels, to a junction box, down the side of the house, and the first photovoltaic component in your system - usually the DC disconnect.
When wiring solar panels, the wiring must consist of three wires: negative, positive, and ground wire. None of the wiring should be touching the actual roof.
Installing conduit over all wires coming out of your panels is essential to protect them from exposure to rain, sunlight, and other elements.
- Now set up all of your photovoltaic components according to the manufacturer’s instructions (but don’t connect them yet). Install your inverter and the other photovoltaic components in a garage or an outbuilding. Make sure that the area is dry, well ventilated, and that the space is not subject to extreme hot or cold temperatures. This is especially important when it comes to your battery bank.
If there’s going to be any cold weather at all, you should use a battery box around your entire battery bank to protect it from changing environments. A battery box is also necessary to protect children and pets from accidental electrical shock.
- The next step in a typical PV installation would involve running the power from your inverter into your home’s AC breaker panel and other system components. To do this, first, turn off the main breaker and de-energize all AC and DC sources of power.
Then, connect your inverter to your AC breaker panel. Connect the PV wires to the DC disconnect switch and the other photovoltaic system components up until the main DC disconnect. Then connect the main DC disconnect to the inverter.
After you do this, (and ensure that your system is safe by getting a professional electrician to test and verify that everything is working properly), you can turn on your breakers and DC/AC disconnect switches and electricity will be distributed from the AC breaker panel to any electrical loads in your home.
When wiring through walls, use conduit to protect against shock and short circuits. For outdoor wiring, use PV conduit over the wires, with waterproof fittings or duct seal to keep out water.
Also anytime, you’re going to be sharing solar power with power from your electric company, it’s a good idea to install a second smaller panel box beside your main one for the solar feed, along with a convenient shut-off switch to make cutting the power from the solar panel easy if necessary. A very common and usually required safety procedure in solar installation.
The breaker that is used for the solar feed must not exceed 20% of the AC breaker panel’s service size. So if your home’s electrical service is 100 amps, this limits your breaker size to 20 amps. If you install solar panels and a PV system that has more amps than that, you may need to increase your home’s electrical service to 200 amp or higher.
Solar Installation Shortcuts
Here we list a few alternative ways you can save even more money (and work) by simply working around some of the more expensive and “legally complicated” aspects of solar energy installation.
Roof or Yard?
If solar panel installation is a little too labor-intensive for you and you don’t want to go through all the trouble of mounting and installing solar panels on your roof, you can always place them in your backyard or on your balcony. This will require your panels to have some kind of a stand or adjustable support behind them.
However, different areas have different rules for this as well. Some areas require that any solar panels not mounted to the roof must be protected from the general public via the use of fencing or a pole mount 8 feet or higher. Do your homework and find out what’s required in your area before proceeding.
Panel or Plugs?
If you don’t want to connect directly to your home’s AC breaker panel, you can plug appliances directly into the inverter. Just set up a system where you plug appliances, TVs, toasters, lights, etc, into a convenient box of “direct access” power outlets (plugs).
This can be as easy as attaching an extension cord from the power inverter, passing it into the house, and adding a power bar with multiple easy access outlets. Many people choose to implement little solar installation shortcuts like these to “work around’ some tough spots.
With these options to “work around” some of the more expensive (and complicated) aspects of solar power installation, it gets even easier for you to create a system that can recover more of your initial costs within just months instead of taking years.